|
| With
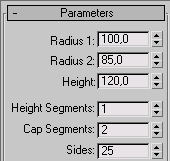
a new scene opened, go to front viewport and create a tube using the following
parameters:
We will model a rim with 5 spokes, so it is important to have an amount of sides that can be divided by five.
|
 |
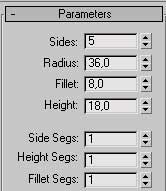
| Right-click the model and choose "convert to editable poly". The tube should look something like this now:
|

|
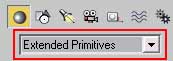
| Switch
back to front viewport now if your not still in there and create a pentagon
by choosing "Gengon" from the Extended Primitives rollout.
Type in these Parameters:
|
 |
| Convert the gengon to an editable poly like you did it before with the tube. Scroll down the modify tab, select "Attach" from the Edit Geometry rollout and click on the tube. Now both primitives are connected.
|
| In polygon mode, select the polygon on top of the gengon and extrude it upwards.
|

|
| Adjust size and position of the extruded polygon, then extrude it once more until you reach the inner side of the tube.
|
|
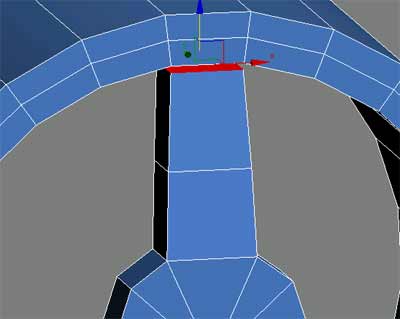
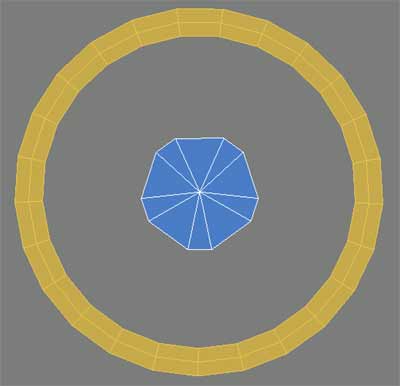
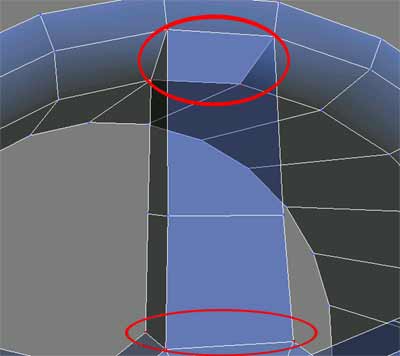
Start matching the tube to the spoke, select the two polygons as shown here and hit Del on your keyboard. Later we will weld both spoke and tube together, therefor we need to delete these polygons. |
|
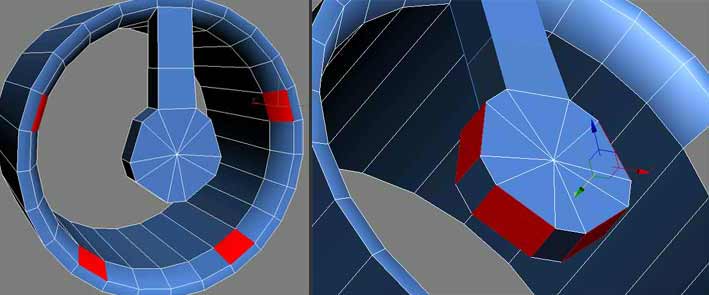 |
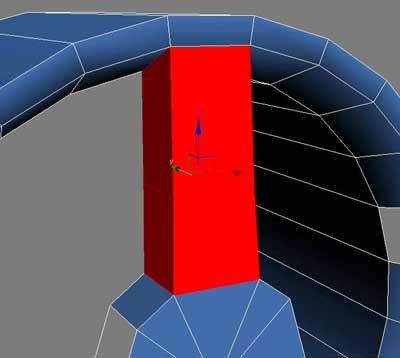
| Select all polygons of the spoke (should be 8 polygons selected) and choose "Detach" from the Edit Geometry rollout, a window will pop up where you can enter the detached object's name, then click ok. |
|
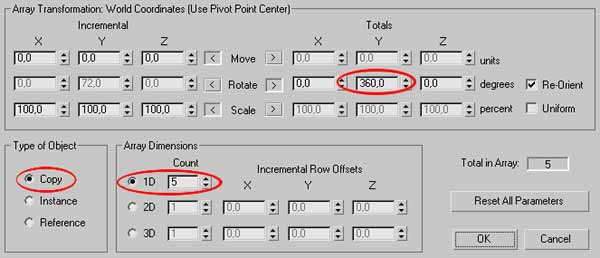
| Now
we will create four copies of the spoke and arrange them circular around
the gengon using the Array function. With the spoke selected go Tools >
Array, the dialog box shown below will appear. Select the Type of Object
and enter the values for Total Degree and Array Dimensions (instead of typing
in a total degree you can also enter an Incremental offset of 72,0 degrees),
then click ok.
|
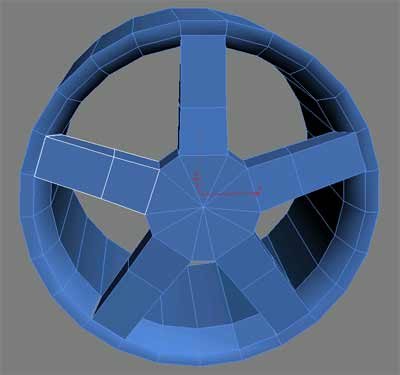
| This
should be your result:
|
|
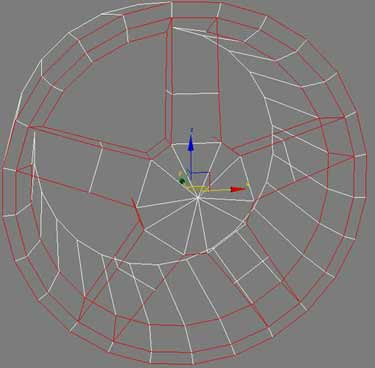
| One
spoke should still be selected and if not, click on any object, then click
the "Attach List" button next to "Attach", hit "All"
in the attach list dialog and ok. All objects are now connected again, but
we still have to weld the spots where the spokes hit the tube/ the gengon.
To do so, select all vertices on the top/ bottom of all five spokes. Click the "Weld Settings" button in the Edit Vertices rollout, type in a Weld Threshold of about 1,5 - 3,0
Each pair of vertices is now going to be welded together. Note that we selected a total amount of 80 vertices for welding, so there must be 40 vertices less in your scene after applying the weld settings. |
|
|
Switch to edge sublevel now and select the edges as shown. |
|
| Click the chamfer settings button and apply a chamfer amount of 0.75 | 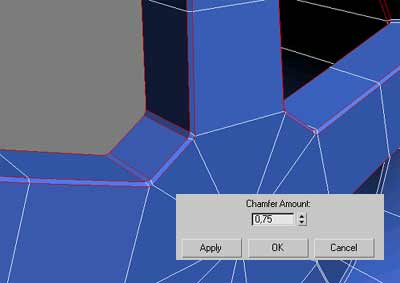
|
| Select the polygons of the gengon's front side and use Inset to create a polygon in the center of the rim, then extrude it slightly. | 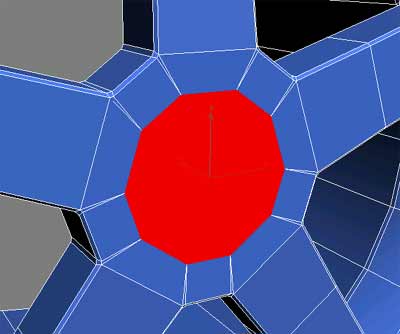
|
| Finally apply a Meshsmooth modifier with two iterations. |
|
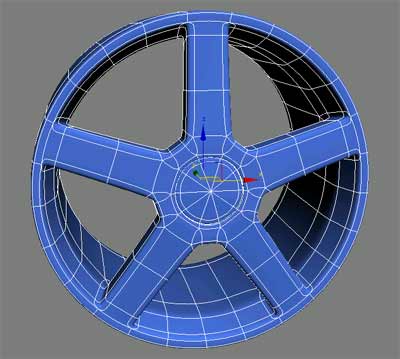
| So
the main wheelshape is now finished. You can continue on tweaking the rim
the way you want it, adding details, wheelnuts and so on or create any other
type of rim.
I hope you enjoyed this tutorial, if you experience any problems or if you have any suggestions, please feel free to send me a mail or hit me on ICQ 158293030. |
 |